It was not possible to mass delete contacts on iPhone until iOS 16. If you are using a less version of the iPhone OS, I am sory but the steps I will be outlining in this post will not work for you. But there is going to be a workaround for you too so, keep reading until the end to see how you can delete multiple contacts on all iPhones.
Supported iPhone Devices
- iPhone 15
- iPhone 15 Plus
- iPhone 15 Pro
- iPhone 15 Pro Max
- iPhone 14
- iPhone 14 Pro
- iPhone 14 Pro Max
- iPhone 13
- iPhone 13 Mini
- iPhone 13 Pro
- iPhone 13 Pro Max
- iPhone 12 Mini
- iPhone 12
- iPhone 12 Pro
- iPhone 12 Pro Max
- iPhone 11
- iPhone 11 Pro
- iPhone 11 Pro Max
- iPhone XR
- iPhone XS Max
- iPhone XS
- iPhone X
- iPhone 8 Plus
- iPhone 8
- iPhone SE (1st + 2nd Gen)
- iPhone 7 Plus
- iPhone 7
- iPhone 6s Plus
- iPhone 6s
- iPhone 6
How to Delete Multiple contacts on iOS 16 and Later
In the latest iOS 16 update, managing your contacts has become even more efficient, especially when it comes to mass deletions. Here’s a step-by-step guide on how to easily delete multiple contacts:
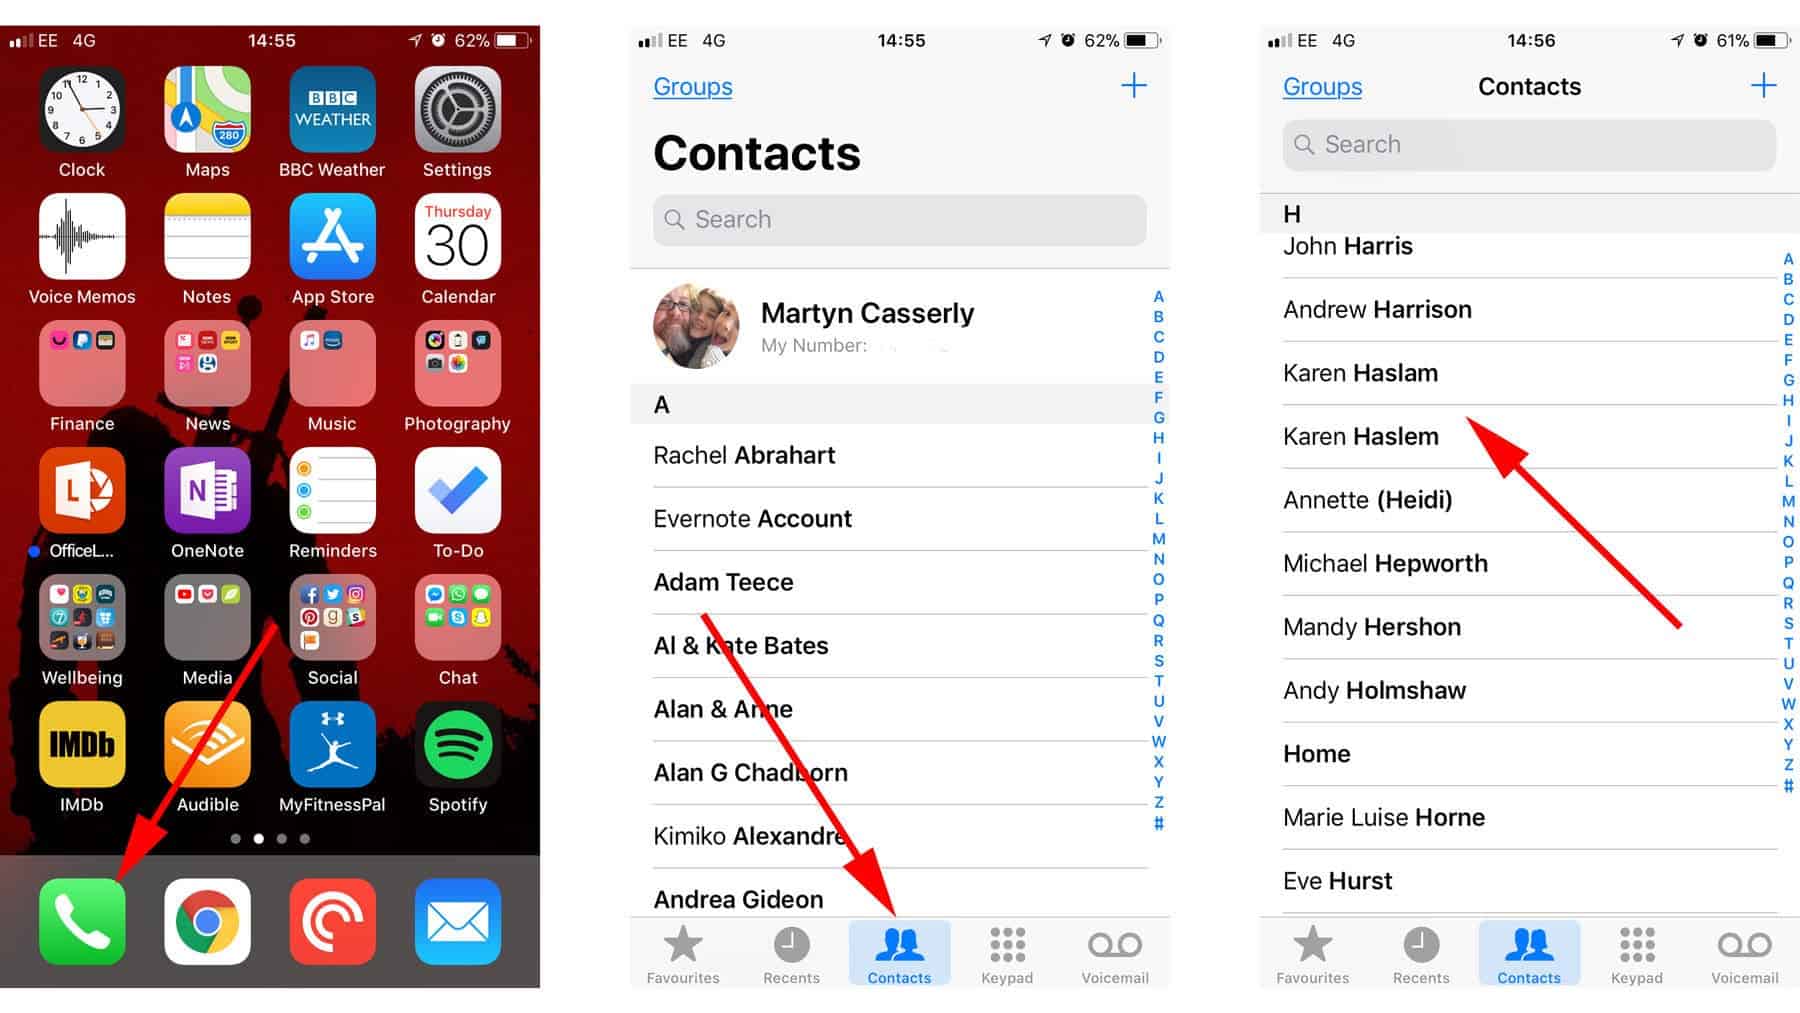
- Selecting Multiple Contacts: Start by launching the Contacts app on your iOS device. To select multiple contacts for deletion, use a simple two-finger gesture. Begin by tapping and holding on one contact, and while doing so, slide your fingers up or down the list to highlight additional contacts. As you do this, the selected contacts will be visually highlighted in a subtle gray shade, making it easy to keep track.
- Confirming Your Selection: Once you’ve successfully selected all the contacts you wish to delete, simply release your fingers. Your chosen contacts will remain highlighted in gray, indicating that they are ready for action.
- Initiating Deletion: Now, long-press on any of the highlighted contacts. A context menu will promptly appear, offering various options like Copy, Share, Merge, or Delete. To proceed with the deletion, tap on the “Delete” option.
It’s essential to note that this convenient method for mass contact deletion is exclusive to devices running iOS 16. If you’re unsure about your device’s iOS version, you can quickly check by following these steps:
- Open the “Settings” app on your iOS device.
- Scroll down and select “General.”
- Tap on “About.”
- Look for the “Software Version” section to confirm if your device is indeed running iOS 16.
Now, with iOS 16’s user-friendly contact management features, you can streamline your digital address book effortlessly. Say goodbye to the hassle of deleting contacts one by one, and embrace the efficiency of this innovative update.
How to Delete Multiple Contacts on All iPhones
If you find yourself in a situation where you need to delete numerous individual contacts efficiently, regardless of the iOS version your device is running, here’s a smart approach:
1. Accessing Your Contacts via a Web Browser: To begin, log in to the email account where your contacts are hosted via a web browser. These contacts aren’t stored locally on your iPhone or on the SIM card; instead, they are synchronized with the email account you’ve linked to your device. This email account could be associated with services like Google, iCloud, AOL, Exchange, Outlook, Yahoo, or any other email client server. I will be showing you how you can access your contacts on iCloud.com too, just so you will be able to access and work on them.
2. Understanding the Synchronization Process: It’s crucial to grasp that when you enable the Contacts feature in any of your email accounts, the contact data becomes accessible to you through your iPhone’s Contacts App. Any modifications or edits you make to these contacts on your iPhone are, in fact, mirrored back to the client-server where they are originally stored.
3. Mass Deletion on the Client-Server: Here’s the key: when you delete multiple contacts in your email account via the web browser interface, these changes are simultaneously reflected on your iPhone device. In essence, any actions taken on the client-server level are seamlessly synced with your device. This means that you can efficiently delete numerous contacts at once directly from the client-server interface, and these deletions will automatically be updated on your iPhone as well.
By understanding this synchronization process, you can simplify the task of managing your contacts. Whether you need to clean up your contact list, remove duplicates, or perform any other bulk actions, the changes you make on the client server will effortlessly propagate to your device, ensuring that your contact list remains up-to-date and organized. This method offers a convenient and platform-agnostic way to maintain your contacts, making it a valuable tool for users across various iOS versions.
How to View Your Contacts On iCloud.com
Navigating and making the most of your contact list through iCloud.com is a breeze. Here’s a step-by-step guide to help you seamlessly manage your contacts:
1. Accessing Your Contacts:
- Begin by logging in to iCloud.com using your Apple ID and password.
- Once logged in, locate and select the “Contacts” option. This will open up your contact list.
2. Selecting a Contact:
- Within the Contacts interface, you’ll see a list of your contacts. Simply click on the contact you wish to interact with. This action will display the contact’s details and information.
3. Filtering Contacts by Group (Optional):
- If you have organized your contacts into specific groups, you can filter them by selecting a group from the sidebar on the left. For a comprehensive view of all your contacts, ensure that the “All Contacts” group is selected.
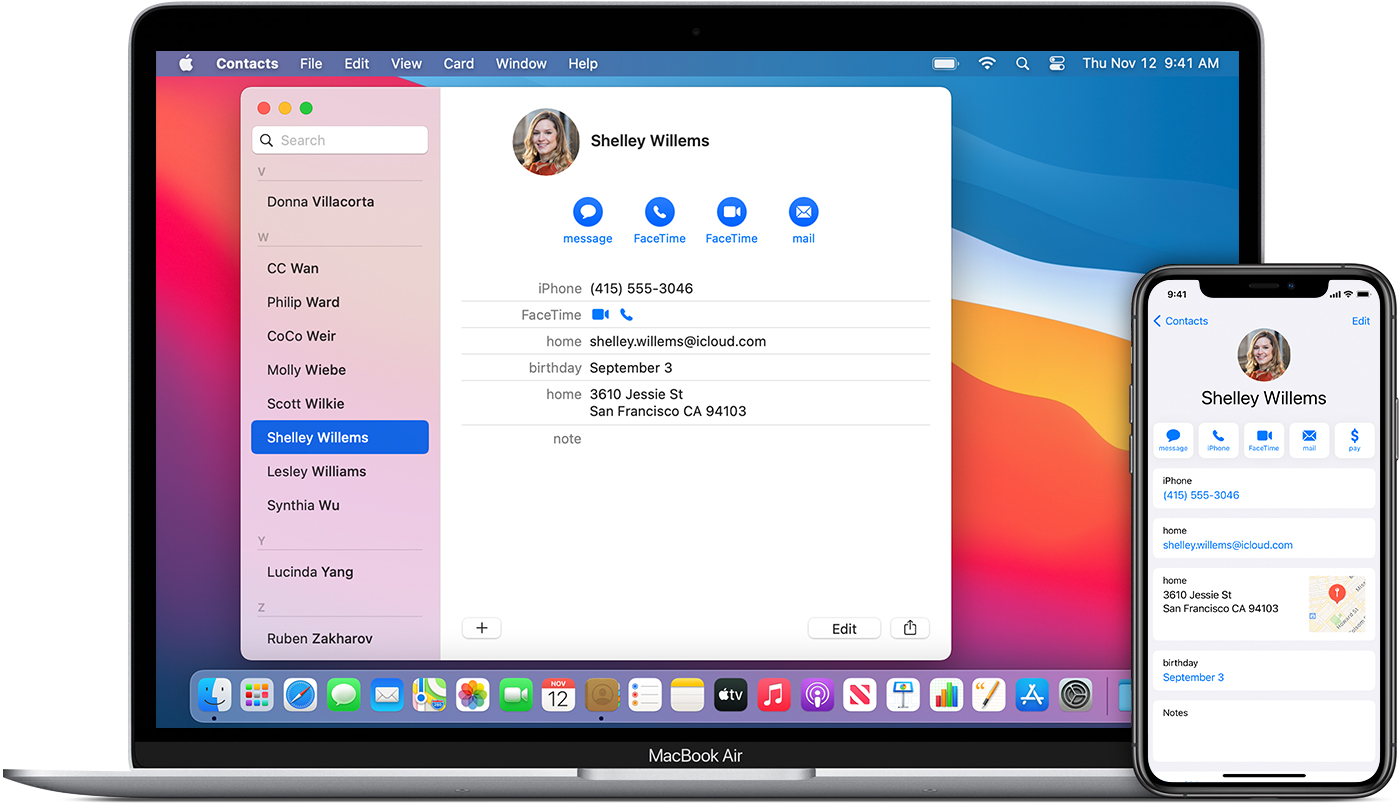
4. Interactive Contact Card:
- The contact card displayed for each individual is designed to be interactive, providing quick access to various actions:
- Calling the Contact: If you want to call the contact, simply click on their phone number. This action will initiate a call to the selected contact, provided you are using a device configured for this function.
- Emailing the Contact: Click on the contact’s email address to compose an email directly to them. This action is especially handy for sending quick messages or inquiries.
- Viewing the Contact’s Address: To locate the contact’s address, click on it. This will open a map, allowing you to see the contact’s address pinpointed on the map.
5. Device Integration:
- Depending on your device setup and preferences, clicking on a specific field within the contact card may open a new window, tab, or application. Apple devices are known for their seamless integration, ensuring that your actions align with your preferences and device capabilities.
You can effortlessly navigate and leverage your contact list on iCloud.com. Whether you need to make a call, send an email, or find an address, this intuitive interface ensures that your contact management tasks are both convenient and efficient.
Conclusion
With this guide, you should be able to delete multiple contacts on your device at once. If you still have a problem deleting your contacts please leave a comment and I will respond to that within 48 hours.