Hey reader, are you set for a smarter life? Do you want to know how to scan ThinQ QR code? I guess your answer is going to be a resounding yes! With ThinQ, they have made this dream easier and you can get this done with no stress at all. Once your devices are connected to Thinq, you will control your home through it. Your home devices that are equipped with artificial intelligence, voice control, etc can be controlled using the Thinq. In this blog post, I will show you how you can Scan the Thinq QR Code and how you can get your Thinq set up. Follow me to the end to find out how you can get this done.
Benefits of ThinQ Care for LG Appliance Users:
Instant Alerts:
Receive real-time notifications about issues like an open refrigerator door or an open washer door. Address problems promptly to prevent larger issues like spoiled food or mold growth.
Automatic Maintenance Alerts:
ThinQ Care’s built-in AI identifies when your LG smart appliance needs maintenance, preventing unexpected expenses and ensuring smooth operation.
Enhanced Performance:
Use advanced AI technology for personalized tips on optimizing appliance usage. ThinQ Care identifies patterns, offers energy-efficient suggestions, and even recommends tailored wash cycles, saving you money, time, and hassle.
Supply Monitoring:
Keep track of essential supplies like rinse aid, water filters, and laundry detergent. ThinQ Care monitors levels and notifies you when it’s time to restock, ensuring uninterrupted household chores.
Guided Installations:
Simplify the installation process with AI help. ThinQ Care identifies missed steps during installation, ensuring your appliances work safely, and efficiently, and contributes to reduced utility costs.
How to Download the ThinQ App on Your Smartphone
Before we show you how you can scan and connect the ThinQ app to any of your smart home appliances, let me take this time to ask. Do you have the app on your phone already? If your answer is no, then we need to know how you can download this app to your device first. Follow the steps below to see how you can do that.
Steps to Install the LG ThinQ App:
- Start by choosing your smartphone operating system. If you are using iOS, choose that, and if you are using Android, you choose that as well.
- If you are using an Android device, open the Play Store app.
- In the Play Store, use the search function to type in “LG ThinQ.”
- Locate the LG ThinQ app in the search results and open its app detail screen.
- On the app detail screen, select “INSTALL” to begin the installation process.
The same process goes for iOS users. Go to the iOS app store and search “LG ThinQ” in the search box. Once you see it click to download to your device. Are you done right now? Okay, let us see how you can scan the QR code.
How to Scan ThinQ QR Code
If you have reached here, I believe you have all the requirements to scan the QR code already. In this section of the post, I will be showing you how you can scan the QR code and get started with your ThinQ journey.
To scan a ThinQ QR code, follow these steps:
- Open the ThinQ app on your mobile device.
- Navigate to the section or menu label add a new device and click on it.
- Look for an option like “Add a device” or “Scan QR code” and select it.
- Allow the ThinQ app to access your phone’s camera when you are prompted to do so.
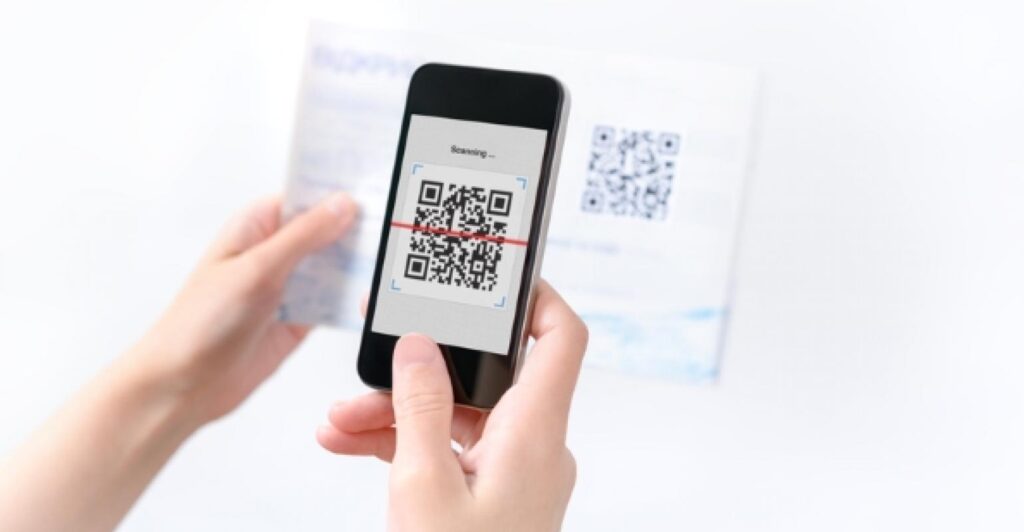
- Hold your phone camera over the ThinQ QR code, ensuring it is centered within the camera frame.
- The app will automatically recognize the QR code. Once detected, it will add the device associated with the QR code to your ThinQ network.
- Follow any additional on-screen instructions to complete the setup process.
This process allows you to quickly and easily add a new ThinQ-enabled device to your smart home network using the QR code provided with the device.
Steps to Connect Additional Appliances:
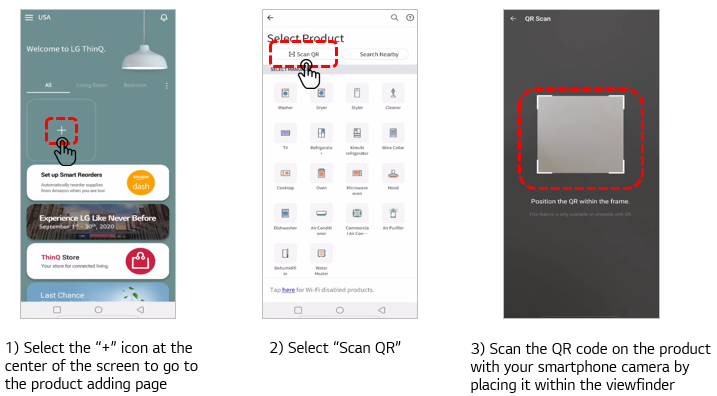
- Open the ThinQ app and navigate to the dashboard.
- Select “Add a device” from the options.
- Choose “Scan QR” to start the connection process.
- Grant permission for the app to access your phone camera.
- Align the QR code from the model and serial tag within the frame on your phone screen.
- Ensure your appliance is plugged in, and powered on, and then tap “Next” to complete the connection.
That is all! I think this is simple enough for anyone to follow. If you still have issues with these steps that I have shown you here, please leave a comment and our team will get back to you with a response in no time. Thank you for reading and have a nice day!