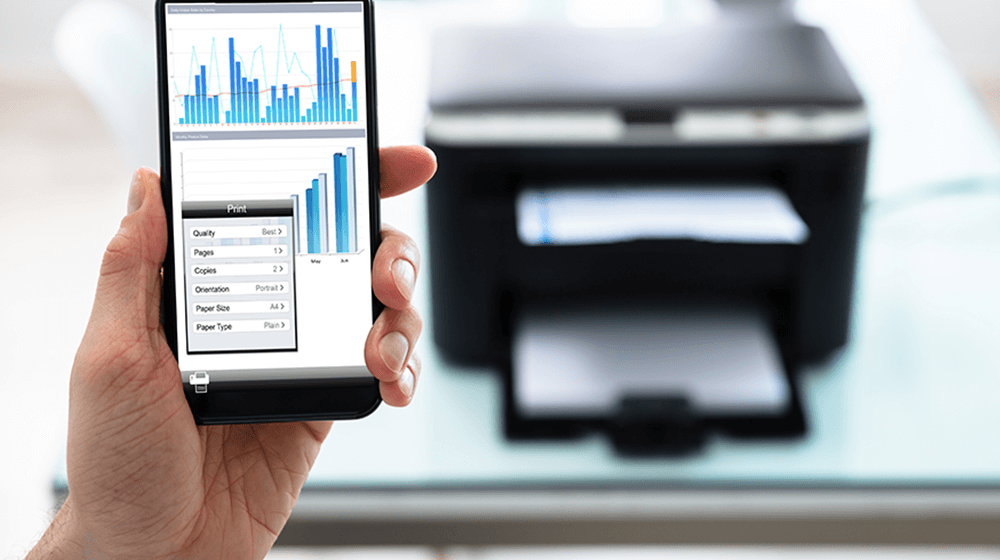
Printing from your iPhone or iPad can be easy to do, and it’s simpler than you might imagine. The easiest method to print from an iPhone is by connecting to an AirPrint-enabled printer, allowing you to effortlessly print wirelessly. In this blog post, I will guide you on all the steps to take and print directly from your phone.
Supported iPhone Devices
- iPhone 15
- iPhone 15 Plus
- iPhone 15 Pro
- iPhone 15 Pro Max
- iPhone 14
- iPhone 14 Pro
- iPhone 14 Pro Max
- iPhone 13
- iPhone 13 Mini
- iPhone 13 Pro
- iPhone 13 Pro Max
- iPhone 12 Mini
- iPhone 12
- iPhone 12 Pro
- iPhone 12 Pro Max
- iPhone 11
- iPhone 11 Pro
- iPhone 11 Pro Max
- iPhone XR
- iPhone XS Max
- iPhone XS
- iPhone X
- iPhone 8 Plus
- iPhone 8
- iPhone SE (1st + 2nd Gen)
- iPhone 7 Plus
- iPhone 7
- iPhone 6s Plus
- iPhone 6s
- iPhone 6
How to Print with AirPrint
Printing directly from your iPhone or iPad using AirPrint is a convenient and straightforward process. Follow these detailed steps to make the most of this wireless printing feature:
Step 1: Open Your Desired App Begin by launching the app from which you wish to print. Whether it’s a document, a photo, or any content within a compatible app, ensure you have it open and ready.
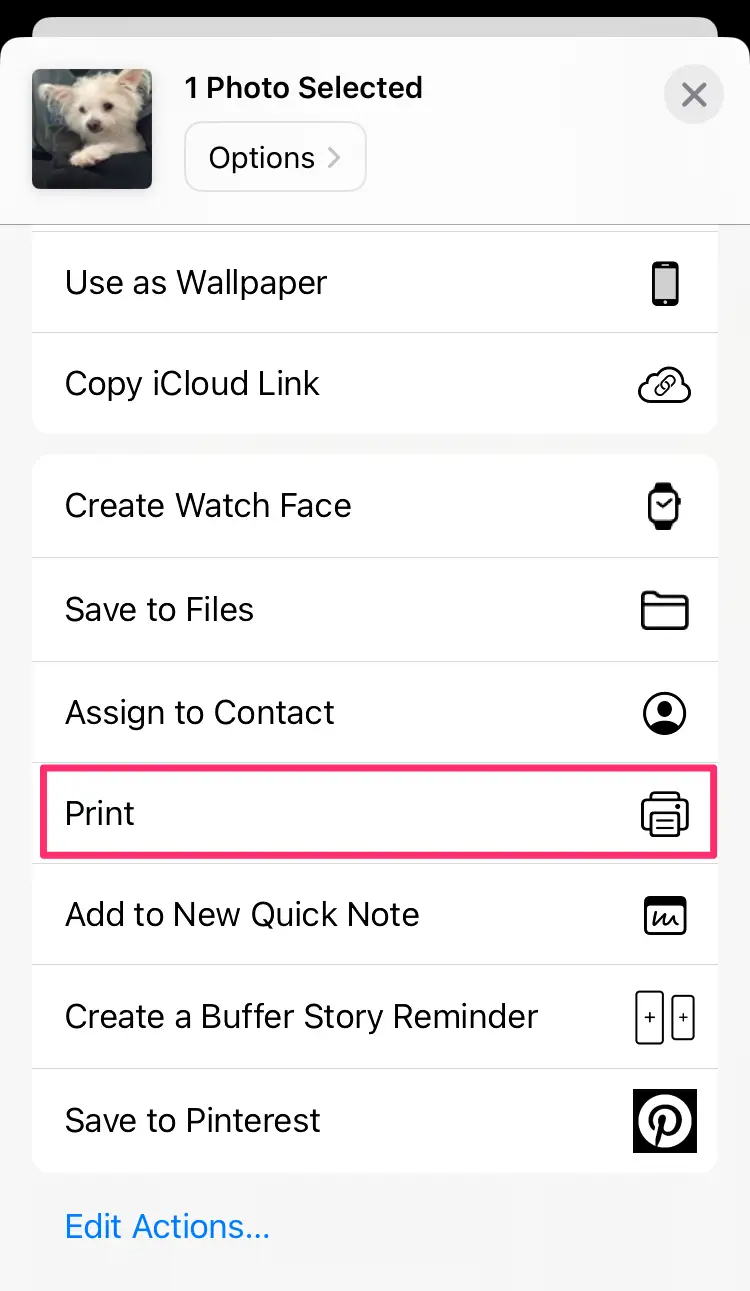
Step 2: Access the Print Option To access the print option, look for either the app’s “Share” button (usually represented by a square with an arrow) or the “Actions” button, depending on the app’s interface and design. Tap on either of these buttons to proceed.
Step 3: Locate and Select “Print” Scroll down through the list of available actions until you spot the “Print” button or “Print” option. If you cannot find the print option, don’t worry—some apps may not support AirPrint. In such cases, consult the app’s User Guide or Help section for guidance on printing alternatives.
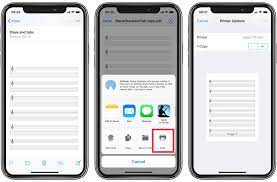
Step 4: Choose Your Printer Once you’ve selected “Print,” you’ll be directed to a screen that says “No Printer Selected.” Tap on this section, and your device will automatically detect nearby AirPrint-enabled printers. Choose the printer you wish to use for this print job from the list.
Step 5: Customize Printing Options Now, you have the option to customize your print job. You can specify the number of copies you want to print or select particular pages if necessary. Take a moment to adjust these settings to your preference.
Step 6: Initiate the Print With your printing options configured, tap the “Print” button located in the upper-right corner of your screen. Your iPhone or iPad will send the print job wirelessly to the selected AirPrint-enabled printer.
That’s it! You’ve successfully used AirPrint to print from your iPhone or iPad. This hassle-free method ensures that your documents, photos, or content from compatible apps are turned into tangible copies with ease. Enjoy the convenience of wireless printing at your fingertips.
Printing from an iPhone or iPad Without AirPrint
While AirPrint is a convenient way to print wirelessly, you can still set up and use a printer with your iPhone or iPad even if it doesn’t support AirPrint. Follow these detailed steps to establish a connection and print without any hassle:
Step 1: Access Your Printer’s App Start by opening the app associated with your printer on your iPhone or iPad. If you haven’t already installed the app, you can download it from the App Store, ensuring compatibility with your specific printer model.
Step 2: Activate Your Printer’s Wi-Fi Make sure your printer’s Wi-Fi is turned on and ready to establish a wireless connection. Refer to your printer’s user manual or instructions if you’re unsure how to enable Wi-Fi on your particular model.
Step 3: Connect to the Printer Now, navigate to your device’s Settings, and tap on the “Wi-Fi” option. Under “OTHER NETWORKS,” you should see your printer listed. Tap on your printer’s name to initiate the connection.
Step 4: Select the Content to Print With the connection established, open the document, image, or webpage that you wish to print. Once you have the content ready, tap on the “Share” icon, usually depicted as a square with an arrow pointing upwards. This action will prepare the content for printing.
Step 5: Connect the Printer Through the App Within the sharing options, you should now see the option to print via the printer app you previously opened. Tap on this option to configure your print settings and initiate the printing process.
You can successfully set up and print from your iPhone or iPad even if your printer lacks AirPrint compatibility. This method ensures that you can conveniently produce hard copies of your documents and images directly from your iOS device. Enjoy the flexibility and functionality of wireless printing on your terms.
Printing from iPhone or iPad via USB Cable
To print from your iPhone or iPad using a USB cable, follow these straightforward steps:
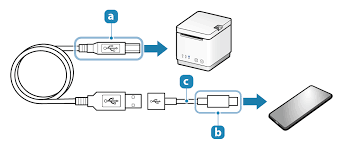
- Connect the USB Cable to Your Printer: First, turn on your printer. Then, take one end of the USB cable and plug it into your printer. Attach the other end to the USB OTG cord. Finally, connect the USB OTG cord to your iPhone or iPad.
- Accept the Pop-Up: When you connect the cable, a pop-up should appear on your iPhone or iPad. Simply tap “OK” to proceed.
- Select Your Document: Navigate to the document you want to print on your iPhone or iPad.
- Share the Document: Tap the “Share” button within the app you’re using to access the document.
- Choose the Print Option: In the Share menu, locate and select “Print.”
- Select the Printer: On the Printer Options page, you should see your connected printer listed next to “Printer.”
- Initiate Printing: Tap the “Print” button in the upper-right corner to start the printing process.
That’s it! You’ve successfully printed from your iPhone or iPad using a USB cable. These simple steps allow you to produce hard copies of your documents with ease and convenience.